


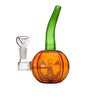
6 Easy Steps To Make A Pumpkin Bong: Tips & Tricks

The leaves have started to change color, winter is here, officially. Be it the chilled weather, stunning fall colors, or the pumpkin-spiced beverages - winter is the season to splurge. Between pumpkin bongs and apple pies, there's a long list of innovative ways to smoke. Have you ever thought of crafting your own bong from a pumpkin? The same tools that are used to carve pumpkins can also be to celebrate the season with cannabis.
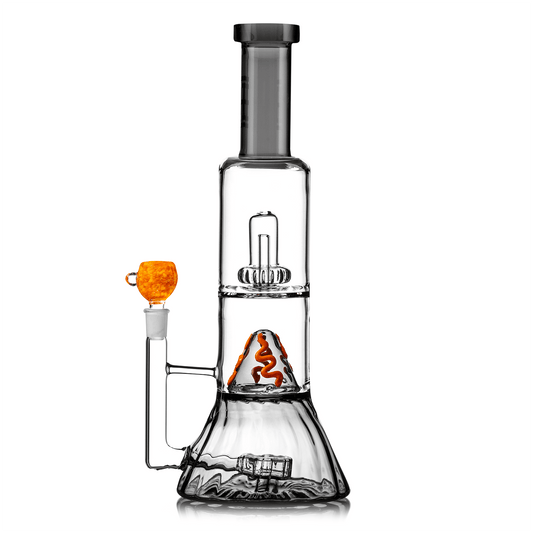
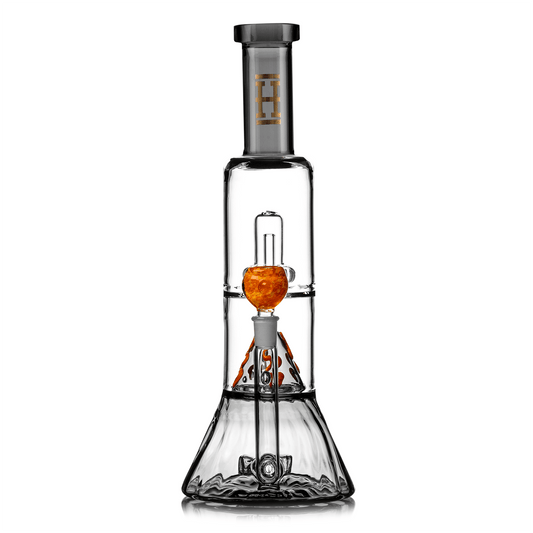
Pumpkin Bong: How Does It Work?
If you can assemble a bong correctly, it will function like any other of your best bongs. You have to suck the air through one end and light the weed on the other end - a water-filtered cloud of smoke is all set to give you the high you've been looking for. Keeping aside your preference of weed, another important decision for you to make here is the kind of pumpkin you use for smoking cannabis. Are you looking for an extra dose of high? Then, pick a pumpkin that is extra-large and go for a smaller size of pumpkin if you need a couple of petite rips. If you think about functionality, any size of pumpkin that you choose will deliver the same effect. Simply keep in mind, the pumpkin you pick should be spacious enough for your downstems, air, and water.
Things Needed To Make Pumpkin Bong
Carving a pumpkin or crafting a pumpkin bong are quite similar. If you compare, making a pumpkin bong can be easier than you think. What will you need to make a pumpkin smoking weed bong?
- A pumpkin - The size of the pumpkin will be based on the kind of smoke you're choosing to inhale.
- Large spoon
- Carving knife
- Smaller knife, sharp
- Downstem
- Bowl piece
- Large straw
- Lighter
Easy Steps To Make Pumpkin Bong
Step 1: You Will Need The Right Pumpkin
Choose a pumpkin based on its roundness rather than its height. You have to pick one so that there's room for both a mouthpiece and a downstem. Keep this criteria in mind before you choose one. It might prove to be tricky to manage a large pumpkin. Pick one that you can handle.
Step 2: Create Placement For Your Mouthpiece And Downstem
Before you carve your pumpkin, you have to map out the cuts you make. Think of this as a blueprint. There's no room for improvisation here. Use your marker to finalize where you'll carve your pumpkin. There has to be three holes - downstem hole, mouthpiece hole, and top of the pumpkin.
- Downstem Hole: You have to place the downstem on your pumpkin's side, it should be placed at a 45° angle facing towards the pumpkin's bottom.
- Mouthpiece Hole: The mouthpiece has to be towards the top or on the side of your pumpkin. You have to place the downstem based on where you're most comfortable.
- Top Of The Pumpkin: You've to cut the top of the pumpkin in a way that you can clean the inside efficiently and place the mouthpiece and downstem. It shouldn't be too narrow or too wide.
Step 3: Cut Off The Top Of The Pumpkin
Use a precise tool that's sharp and fit for safely cutting the top of your pumpkin. You should keep the top of the pumpkin nearby and intact. The top of the bong can be placed back on to seal it.
Cut your pumpkin in a zig-zag pattern. This will reduce air exposure and minimize surface area.
Step 4: Clean The Pumpkin
Once you've removed the stem, keep it aside and begin scooping out the innards using a large spoon. Your pumpkin will be ready for use when there are no guts or seeds left inside it. You must scrape the walls of your pumpkin until it's clean. The top piece of the pumpkin must be cleaned as well. Your pumpkin must be fully hollowed from the inside.
Step 5: Install A Bowl/Downstem
It is very important that this step is done properly. Use a sharp knife and carve out the designated region, however, the angle of the hole for the downstem is crucial. It should be at a 45° angle. Your downstem will point down this way and prevent splashing. The bowl has to be placed on the downstem's end.
Step 6: Install The Mouthpiece
Using the carving tool, make room for your mouthpiece. Place your mouthpiece inside the hole. You can even use a straw as a mouthpiece. Puncture the pumpkin based on the mouthpiece. Add a small amount of water into the pumpkin to let smoke flow smoothly. In case you would like your pumpkin bong to function like a dab rig or a bowl, don't add any water. If you wish to add further character to your pumpkin bong, using a permanent marker, create the design of your choice.
That's all there is to crafting your own bong from a pumpkin.